


The 1992 corvette remover tail lights for led load resistor is not just a car; it’s a symbol of an era where style met performance. Keeping it in pristine condition is more than maintenance—it’s a labor of love. Upgrading to LED tail lights enhances its charm and functionality, illuminating the road ahead with modern brilliance.
Understanding Your 1992 Corvette’s Tail Light System
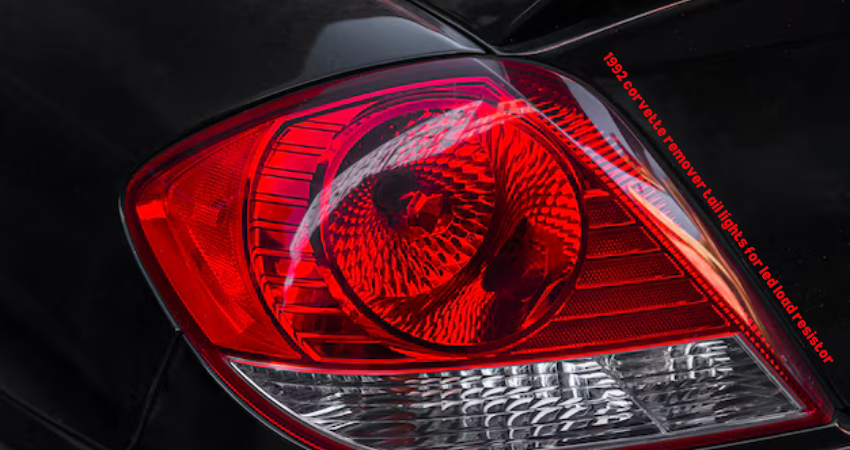
The stock tail light system in a 1992 corvette remover tail lights for led load resistor is iconic but aging. Over time, issues like dimming, inconsistent brightness, and bulb failures can arise, diminishing safety and aesthetics. By transitioning to LED tail lights, you bring a contemporary touch while addressing these shortcomings.
Why Choose LED Tail Lights?
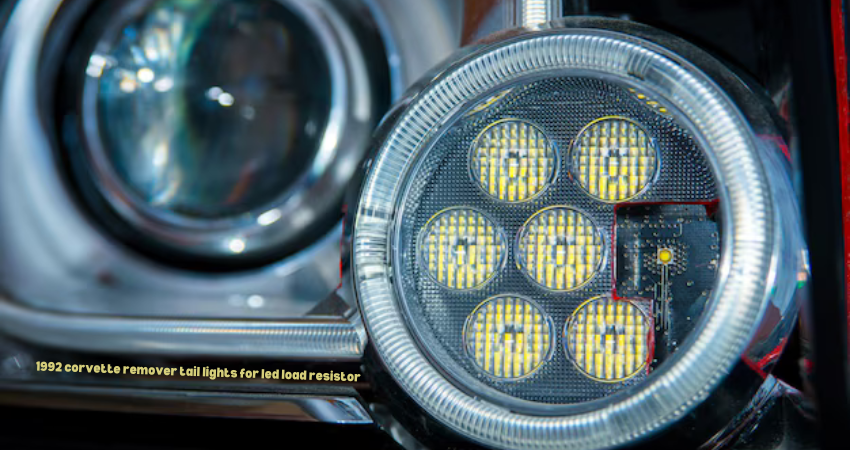
LED lights are a game-changer. Not only do they offer enhanced visibility, but their energy efficiency and longevity make them a practical choice. Imagine your Corvette shining brighter, with tail lights that add a futuristic glow to its classic silhouette. It’s not just an upgrade; it’s an evolution.
Challenges of Installing LED Tail Lights
Switching to LEDs isn’t always straightforward. Compatibility issues can arise, leading to hyper-flashing—a rapid blinking of turn signals that can be as distracting as a buzzing fly. This is where load resistors become essential, ensuring your new lights function flawlessly.
What Are Load Resistors?
Load resistors mimic the electrical resistance of standard bulbs, tricking your Corvette’s system into thinking everything is running smoothly. They prevent hyper-flashing and ensure the LEDs shine brightly and steadily, giving your car the perfect blend of form and function.
Tools and Materials Needed
Before diving into the upgrade, gather these essentials:
Screwdrivers and socket wrenches
LED tail lights (high-quality brands like Morimoto or Diode Dynamics are recommended)
Load resistors (consult your LED’s specifications)
Electrical tape and zip ties
Protective gloves and safety goggles
Step-by-Step Guide to Removing the Tail Lights
Safety Precautions
Disconnect the battery to avoid electrical shocks.
Wear gloves to protect your hands and goggles for eye safety.
Removing the Stock Tail Lights
Open the trunk and locate the screws securing the tail light assembly.
Use a screwdriver to remove the screws, keeping them safe for later use.
Carefully detach the assembly by gently pulling it out. Avoid yanking, as the wiring is still connected.
Unplug the wiring harness from the stock bulbs.
Installing LED Tail Lights with Load Resistors
Positioning the New Lights
Align the LED tail lights with the existing mounts.
Connect the wiring harness to the LED bulbs.
Connecting Load Resistors
Attach the load resistor to the wiring, following the manufacturer’s instructions.
Secure the resistor using zip ties or adhesive tape to prevent it from dangling.
Insulate the connections with electrical tape to avoid shorts.
Testing the Installation
Reconnect the battery and turn on the lights.
Check for proper illumination and ensure the turn signals blink at a normal rate.
Testing and Troubleshooting
If the lights don’t function correctly, double-check the connections. Ensure the load resistors are securely attached and inspect for any loose wires. Patience is key here; a well-executed setup will reward you with flawless performance.
Benefits of the Upgrade
With the LEDs installed, your Corvette now boasts:
A modern, vibrant look
Enhanced safety with brighter signals
Reduced energy consumption, prolonging battery life.
Maintenance Tips for LED Tail Lights
Inspect the lights periodically for dirt or moisture buildup.
Clean with a microfiber cloth and mild cleaner to maintain clarity.
Check the connections during routine maintenance to ensure they remain secure.
Conclusion
Upgrading your 1992 corvette remover tail lights for led load resistor with load resistors is more than a technical improvement; it’s a celebration of style and innovation. This transformation enhances safety and aesthetics, ensuring your classic ride stays timeless yet modern.
FAQs
Why do I need load resistors for LED tail lights?
Load resistors prevent hyper-flashing by mimicking the resistance of traditional bulbs, ensuring compatibility with your Corvette’s electrical system.
How do I know if my LED tail lights are properly installed?
Check for steady illumination and normal blinking rates. Test all functions, including brake lights and turn signals.
Can I install LED tail lights without professional help?
Yes, with the right tools and patience, you can perform this upgrade yourself by following a detailed guide.
What are common signs of faulty load resistors?
Symptoms include continued hyper-flashing, flickering lights, or failure of the LEDs to light up.
How long do LED tail lights typically last?
High-quality LEDs can last up to 50,000 hours or more, making them a long-term investment.